 October 29th we invite you to join us at the Rogue Buddha Gallery for Masquerade, an art opening featuring work by Nicholas Harper, with tunes a la Danny Sigelman. On Saturday, October 30th, head across the river and dress to impress as l'etoile co-presents Tempo's Opera Night Out: Masquerade Ball at Sakura Restaurant, immediately following the MN Opera's opening night of Rossini's Cinderella at the Ordway.
We think pairing a pretty mask with anything from a Cinderella-worthy ball gown to the perfect little black dress is the way to go this Halloween. We've put together a handy guide on how to make your own mask. You can copy ours or you can improvise by adding fake flowers, feathers, jewels or what-have-you!
Step 1: Get a Mask
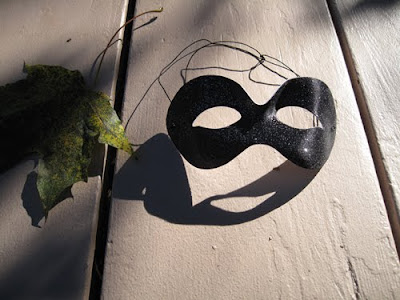 We found this simple little number at Party City for under $5. They come in many shapes and sizes and range from simple to pre-made with lots of glitz. For a larger selection of pre-made masks, check out Twin Cities Costume & Magic shop in St. Paul. And yes, we know we shot this mask upside down.
Step 2: Find your Fixings!
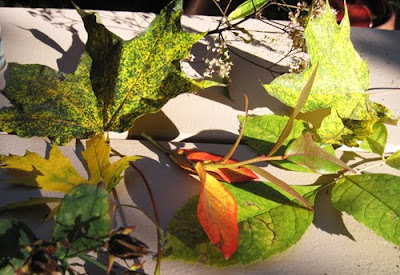 We made our mask out of leaves. If you're going to go this route, find nice thick leaves that won't easily crumble when they dry out. Odds are you're going to get drunk and destroy your mask anyway, but the goal is to have it last as long as possible.
Step 3: Paint your Mask
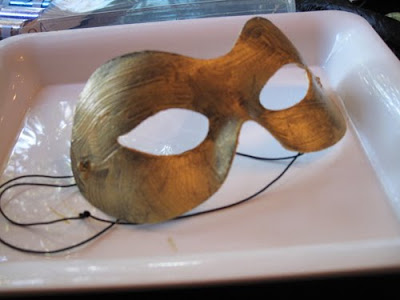 Even though you may end up covering your whole mask in whatever decoration you choose, it's still good to have a base coat of paint that's complimentary to your design. In our case, it's light gold. We only did one coat but if any of your mask is going to show, use two. We used Stephen Quiller Iridescent Pale Gold acrylic from Wet Paint in St. Paul.
Step 4: Paint your Leaves
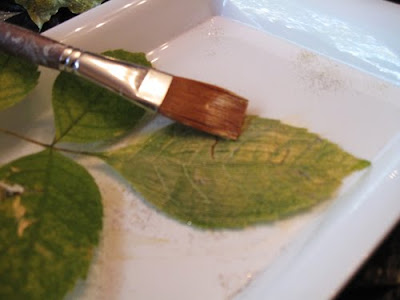 We used the same pale gold paint we used on the mask to do light brushings over the leaves. The paint also acts an adhesive of sorts for the glitter that we use in the next step. Do a few leaves at a time so it doesn't have too much time to dry. You want the glitter to stick!
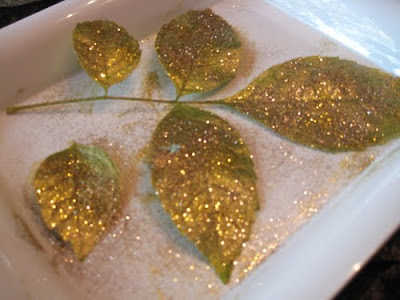 Use a plate or tray when glitterizing so you can catch and reuse extra glitter. Hold the glitter shaker at least a foot or more above the leaves to ensure even placement. We got our glitter from Michael's Craft Store in an autumn themed variety pack. Make sure to get micro-glitter, it's the prettiest!
Step 6: Plan your Design
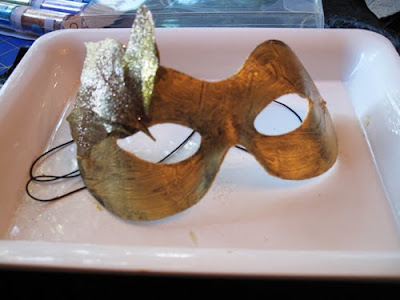 Plan out your design before just randomly gluing objects onto the mask. We chose leaves by size and shape specifically to make sure our placement was somewhat symmetrical.
Step 7: Glue Gun!
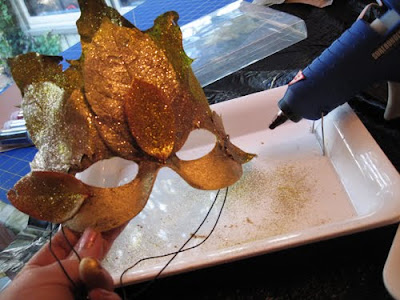 Use a glue gun to ensure the leaves or other decorations don't come loose. If you're going to be out partying all night, you need to make sure your mask doesn't come apart before the stroke of midnight! Glue guns rule and everyone should own one. Michael's carries a good variety.
Step 8: Seal it up!
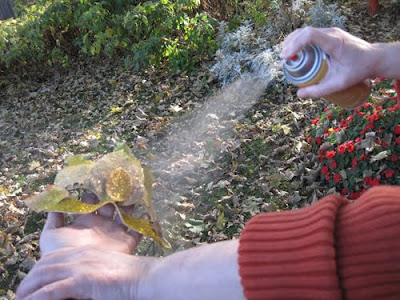 Since we went crazy with glitter, the last thing we want is for it to get all over us come Halloween night! We're going to the Opera, not a rave after all. We sprayed our mask down with Krylon Crystal Clear Acrylic Gloss (also available at Michael's) to seal the deal. Let your mask dry and viola!
Step 9: Admire your Handiwork
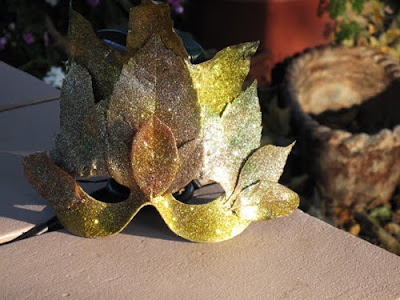 Yep, we think our mask is pretty sweet! We're covered in gold paint and glitter as we type this tutorial, but hey, we're going to look cool on Halloween! Make your own mask and send us an email with a picture!


1 comment:
Great idea! Love the leaves. A couple of weeks ago I threw a Masquerade Antheneum party where I made my own masks as well. I used ribbon and feathers and spray painted chopsticks gold to make them hand held. Photos from the party are here. http://www.flickr.com/photos/50769291@N02/sets/72157624978234607/
Happy Masquerading!
Post a Comment